set video background color
2026-10-01 The fish is finally back and working again! Welcome to Version 2!
This site will probably work better for you on desktop and not a phone. Tested with Firefox and Chrome.
What even?
So, you've just finished hacking up an old-time Big Mouth Billy Bass. Maybe you made it sing Bohemian Rhapsody or converted it into an Alexa. Whatever the case, I'm guessing that - like the original product - the novelty didn't last too long. I find that this is the kind of thing that is way more fun to build than actually do anything with, and the finished billy bass now sets on the finished project shelf, where you occasionally notice it staring at you with its cold plastic eyes.
With this undesirable outcome, I decided to give mine its third lease on life, using the method of last resort: connect it directly to the internet and see what people do with it (much like my thermal printer).
Big Mouth Billy Bass is a registered trademark of Gemmy Industries, which has no affiliation with this project.
OK, but what does it do?
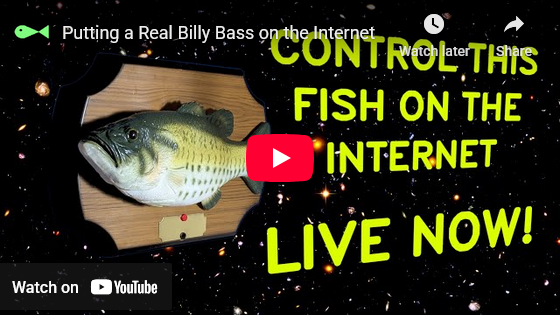
You load an MP3, sync up some head, tail, and mouth animations, and upload it to the fish. Then (a bit later), you get a video of it. These aren't renderings or CGI/AI, it's real recordings of a real billy bass I've got set up. Each performance is filmed separately.
How?
- Click Load and select an MP3 file of between 5 and 200 seconds.
- The audio waveform should appear at the top. You can click around to set the playhead position; scroll wheel to move the view left/right, and p to play/pause. Restart r moves play head to the position of the white marker at the top, which is draggable.
- Use the center buttons (or keyboard) to add animation events. There is one for the mouth (space), head (s), and tail (k). When pressed, it will add a marker to the top which is active/open state (mouth open, head tilted, tail up). When released, it adds a marker to the bottom which is the inactive/closed state (mouth closed, head forward, tail down). The markers are all draggable so you can better align them with features on the waveform, but it's a lot easier to just press the buttons while the audio is playing. If using the keyboard, click the click to use keyboard button first.
- Adjust the value in the input delay to correct for lag between what you hear and where the animation is laid down. Positive values move the markers a to the left when they are added, so that they happen earlier. Keep in mind that on the real thing, it takes a little time for the fish to move. When I do this, I find that a value of about 50-100 ms works well, especially if wearing Bluetooth headphones.
- If you make a mistake, use backspace (bs) and delete (del) buttons/keys to delete animation events before or after the play head.
- Save will give you a .🐟 file extension which contains the audio and animation. You can Load this back in later.
When you are ready to record it on the fish, then
- Select the background color you want. If you select anything other than as is it will chroma key out the background (which is a uniform blue color) and replace it with a solid color, for easier chroma keying in your own projects.
- Click Send to Fish
- Make note of the entry id it gives you, and copy down the download code
- Go to the queue. Assuming everything happened correctly, you'll see the ID of your entry there.
- Wait for it to be ready. Entries on the queue are serviced in a random order. All entries older than 48 hours are removed from the list. If yours is not recorded in that time frame, you can always try again, just be sure to change the animation slightly (exact duplicate entries are not allowed).
- When your entry's progress is video ready for download then enter your download code in the box, and you will be able to get the video file.
New features in Version 2
In August 2026, the fish hardware suffered a lightning strike that destroyed the Raspberry Pi it runs on, the motor controllers, and some other hardware. I took the opportunity to fix some problem items and add features.
- Replaced rubber fish body with a new one (paint was starting to come off the old).
- Changed all motor gear pinions from original plastic to brass.
- Replaced backplate and plaque.
- Fixed camera exposure and white balance settings.
- New power supply for motors.
- Downgraded to a RPI 3. Motor H-bridges now run directly though GPIO; recorded frames go to a ramdisk (this is the main limitation on recording time); video is processed elsewhere, so it is much faster to render.
- Added Keep Animation checkbox. If checked, then loading a new audio file will not clear out the animation flags. Use this to work on a vocals-only version of the song, then load in the full thing without losing your progress.
- Added Record (Mic), to record live from a system audio source, so you don't need to get an MP3 from elsewhere.
- Added Auto Mouth Animation - experimental, tries to open/close the mouth based on the loudness of the waveform. If the sound is louder than the threshold, it opens, and opposite that it closes. Algorithms are simple and not very good; you will almost always get a better result by operating the mouth button manually, but it might be good enough for some cases.
- Video output is now fixed as h264 and AAC audio in an MP4 container, 720p at 40 fps. This is mostly tied to the Raspberry Pi Camera hardware.
- Audio input now accepts WAV files in addition to MP3.
I'm not reading all this, show me a video instead
How does it work?
I first tried to animate my fish manually in Audacity, on another audio track, by drawing in another waveform and trying my best to line it up with the words in the main audio track. Then I realized it would be a lot easier to just hook the mouth motor to a button I could press with my fingers in time with the music. I cobbled together this interface to basically be a digital version of that. Since I did it in a browser, I would then be able to put it on the internet after getting bored with the original project.
Actually, about 80% of what I needed was handled by this library I found called Wavesurfer. They even had a handy demo (markers) which implemented the above/below indicators I wanted. Of course, they then updated, changed the UI, and removed the Markers plugin (that's software for ya), so I use an older version.
The actual fish itself is located under the stairs in my basement. The original electronics have been replaced with H-bridge ICs for each of the 3 motors, which are controlled by a Raspberry Pi. The Pi also controls a light bulb for illumination, and the whole scene is recorded with a Raspberry Pi Camera v2.
Data privacy and such things
Look man, you're uploading stuff to a singing fish on the internet. I'm not sure what you're expecting.
Unless you leave me specific information in the notes box when you submit it, the only thing I can see is your IP and what you upload. No cookies, no emails, no accounts, no nothing. I do keep everything that I receive, and I have copies of all the videos it makes. In an ideal case I'd like it all to be publicly available, but I can't do that because of 1) bandwidth, 2) copyright, and 3) the vile nature of the raw internet, which is the main reason you aren't watching this on Twitch.tv.
Recordings will hang round for 48 hours on this server before being deleted, but will otherwise still exist in my archives.
While I do encourage you to share the things you make with it, I will honor deletion requests.
Please send inquiries and feedback to fishsinger@alnwlsn.com.
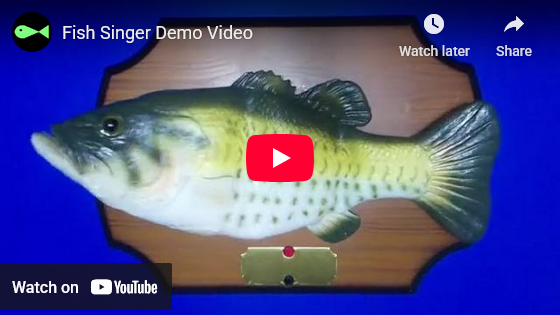
What does it actually look like?
Why did you make this / This is stupid
Because I can / you're stupid.
How does this even make money?
It doesn't, but you can donate if you want to keep it around. Should this become unexpectedly popular, I'll consider offering codes to skip the queue and/or full HD video downloads.